Every time you make a picture with peel-apart instant film, you throw away a bunch of paper. Did you know there’s an actual negative in that wad of trash?
I’ve heard about this plenty of times, and it’s just one of several techniques for manipulating instant film to do more than the box advertised (you can also do emulsion lifts or integral film manipulations, for example). I’m not an instant film addict, or even a particularly huge fan, but I thought I’d try this with my last pack of FP100C, which I shot in the Polaroid 350 for #InsantApril.

Unfortunately, it didn’t occur to me until after I’d piled all the ‘waste’ portions of the films in the trash bag in my car, so they stuck together and wrecked each other a bit. I think there was definitely still something to learn in there, and at least one of my negatives came out fantastically. (Several definitely did not, however.)
I’m not going to go super deeply into the technique because it’s been written up in plenty of other places, and I followed a guide I found on the internet, too.
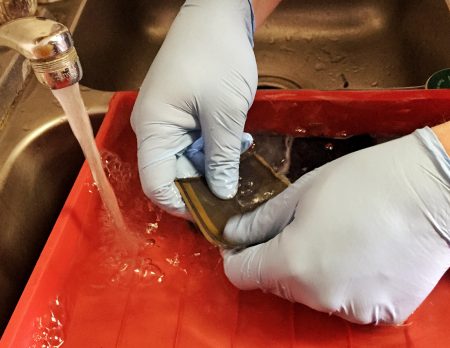
I will note this: some people seem to cut the negative out of the paper, but I didn’t find that necessary. I was able to carefully peel the bulk of the paper off the negatives. The remaining bits wound up soaked with bleach and/or soaked with water in the washing process and came off easily, leaving me with plenty of extra surface area to crop later.
I used clear plastic sheets cut from the fronts of a few old report covers I had laying around to tape down my negatives for bleaching and they worked pretty well. To avoid ruining the counter, I laid down some paper towels, but newspaper would’ve worked well — maybe better. For tape, I chose regular Scotch-type tape, and it did an alright job. Something a little less susceptible to moisture might’ve been good, but it worked.
At a glance, the process is simple:
- Peel all the excess paper away from the negatives.
- Tape the negatives, shiny side down, to something waterproof and smooth, like a sheet of glass or plastic.
- Coat the backs with gel bleach (toilet bowl cleaner with bleach works great).
- Let the bleach sit for a couple minutes and then wipe it off.
- If there is still significant black stuff, do another round of bleach.
- Wash the negatives and carefully rub off the remaining goo.
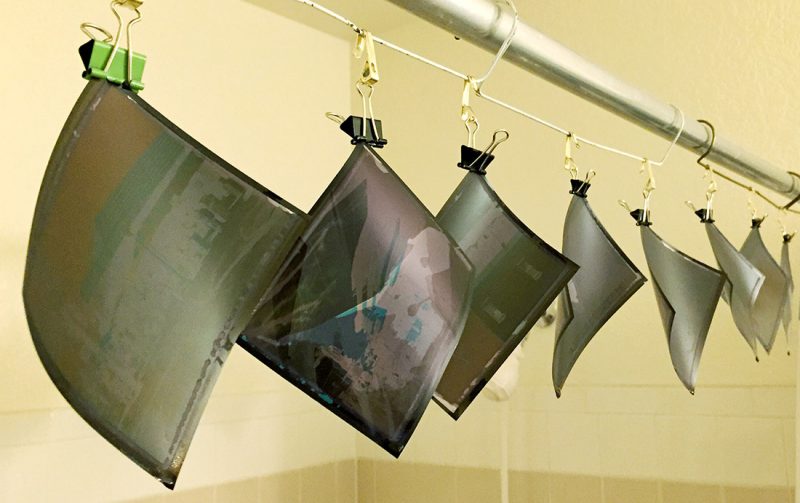
- Hang them to dry for awhile.
- Print them or scan them, as desired.
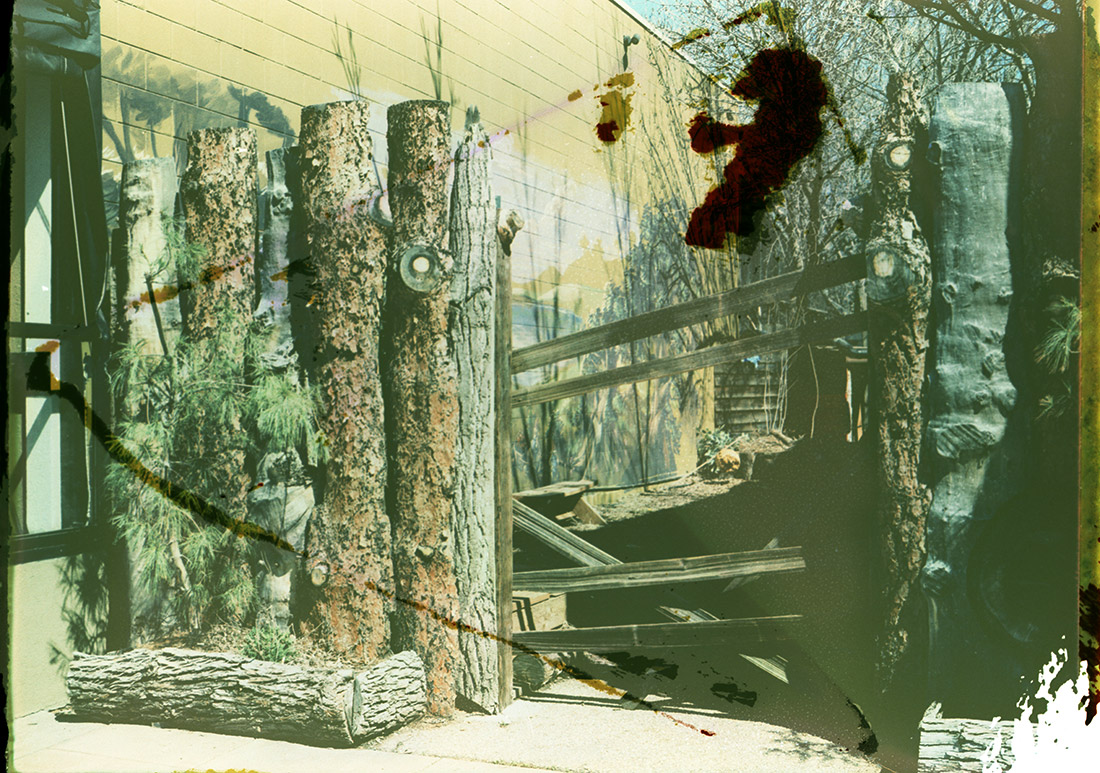
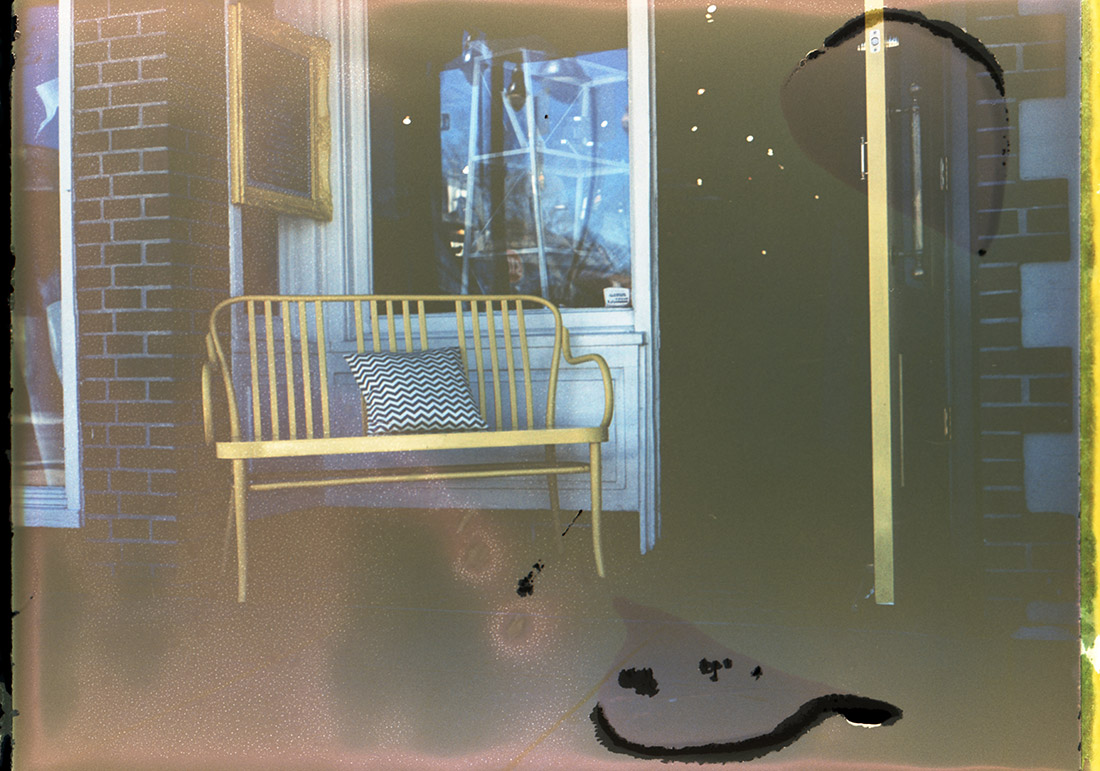
My results weren’t great — mostly. I attribute most of the trouble to the damage caused by the gooey negatives being stuck together in my trash bag. I had to peel them apart, and some were pretty well stuck together.
I can see the appeal, though, definitely. In the couple of negatives that turned out well, the color and detail are excellent — probably better than the prints, frankly. Here are a few more examples, scanned as color negative film (inverted by the scanner software, that is):